前言
一个月前的时候照网上教程搭了一个hexo的blog,但是没有备份,换了电脑以后发现什么都没了。。。不过幸好没什么东西,今天琢磨了一天终于也搞清楚了怎么备份并且在新Mac上还原。
安装环境
Node.js
安装Hexo
npm install hexo-cli -g
cd blog(我的项目路径)
hexo init
npm install
hexo generate
hexo server
此时可在 http://localhost:4000/ 查看。Ctrl+C停止。
将本地文件部署到Github
打开 blog下_config.yml,修改deploy标签。
deploy type: github(或者git)
repository: git地址(如果Github开启两步验证:git@github.com:XXX/XXX.github.io.git)
branch: master
进入blog
hexo clean
hexo generate
hexo deploy
出现错误后修改_config.yml中type: git,然后执行
npm install hexo-deployer-git --save
然后继续
hexo clean
hexo generate
hexo deploy
写博文
hexo new "文章题目"
发表
hexo clean
hexo generate
(hexo server预览)
hexo deploy

hexo n == hexo new
hexo s == hexo server
hexo g == hexo generate
hexo d == hexo deploy
安装主题
以next为例
下载主题
cd blog
git clone https://github.com/iissnan/hexo-theme-next themes/next
打开blog下_config.yml,修改theme为next,然后三步曲
hexo clean
hexo g
hexo d
域名解析
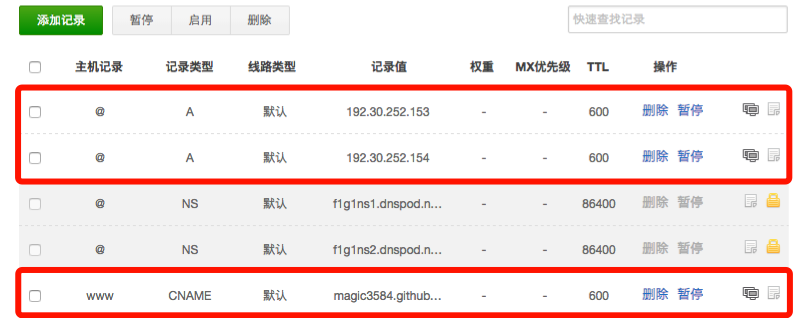
可以在 dnspod 购买
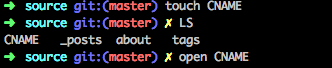
source文件夹下创建CNAME,内容为购买过的域名
在域名管理中添加记录
备份Github
先删除theme的.git
find . -name ".git" | xargs rm -Rf
在blog下
git init
git add .
git status
此时如果有 modified: themes/next (modified content) ,使用 git diff themes/next 有类似如下信息
-Subproject commit XXXX
+Subproject commit XXXX-dirty
此时可使用
git status --ignore-submodules=dirty
然后 git status 正常
继续执行
git commit -m "first commit"
git add remote 新的repo
git push origin master
还原Github备份
git clone
cd blog
npm install hexo
npm install
npm install hexo-deployer-git
npm install hexo-cli -g
git clone https://github.com/iissnan/hexo-theme-next themes/next
直接替换其他地方备份的 next 文件夹
后记
本文方法备份Github的时候需要删除主题例如themes/next下的.git,clone blog完成的时候还需要再重新clone主题。如果有其它更简单的备份请留言交流。